May 2010
This will definitely be the month of sheathing.
Last month, before cutting the glass cloth to size for the hull sides I had
cut 4 pieces of peel ply. A somewhat ambitious approach as it proved out,
but more of that later.
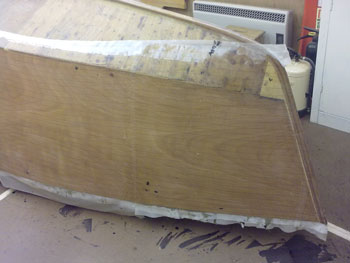 First the port side layer of glass is laid onto the hull. This fabric is so
fine is easily pulls out of shape, great for complex shapes but problematic
on simple ones. Finally I get it smoothed out.
It's not easy pouring epoxy onto a near vertical surface. the easiest solution
I found was to spoon it on using the squeegee and work fast.
First the port side layer of glass is laid onto the hull. This fabric is so
fine is easily pulls out of shape, great for complex shapes but problematic
on simple ones. Finally I get it smoothed out.
It's not easy pouring epoxy onto a near vertical surface. the easiest solution
I found was to spoon it on using the squeegee and work fast.
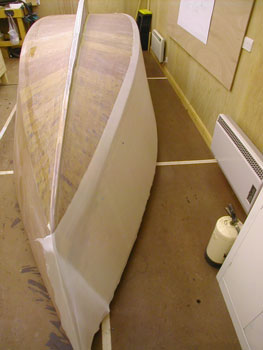
 Finally I get the peel ply on and walk away while it hardens.
After a couple of days I trimmed the surplus fabric off and removed the peel ply.
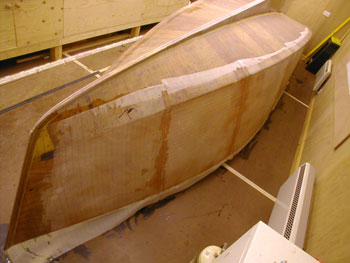
I was disappointed to see that in some areas the epoxy had slumped, not the
glass just the epoxy, as I could scrape it off without exposing the fabric.
After a further week of hardening I sanded the area with wetn'dry.
Great for keeping the dust under control.
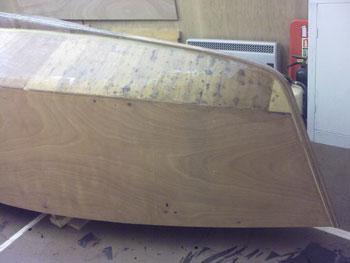
 Next it was time to cut and place the starboard side fabric.
It's held in place with drawing pins in case it tries to slip.
I pull them out as I proceed along with the epoxy.
Next it was time to cut and place the starboard side fabric.
It's held in place with drawing pins in case it tries to slip.
I pull them out as I proceed along with the epoxy.
 I start glueing the upper edge along the hull bottom then work around the chine.
this holds the glass in place and allows me to remove the drawing pins.
Then I work from stem to stern, for no other reason than the area remaining
appears to be getting smaller rather than larger...
I start glueing the upper edge along the hull bottom then work around the chine.
this holds the glass in place and allows me to remove the drawing pins.
Then I work from stem to stern, for no other reason than the area remaining
appears to be getting smaller rather than larger...
Finally on goes the peel ply. I had ambitions of doing this in one hit to avoid
resin lines at the joints. But it's not possible so I had to cut it into sections.
Never mind, more sanding...
Other than the stern the whole hull is sheathed. I wish I could stop there, but
there are two more side pieces to go on.
Stern next.